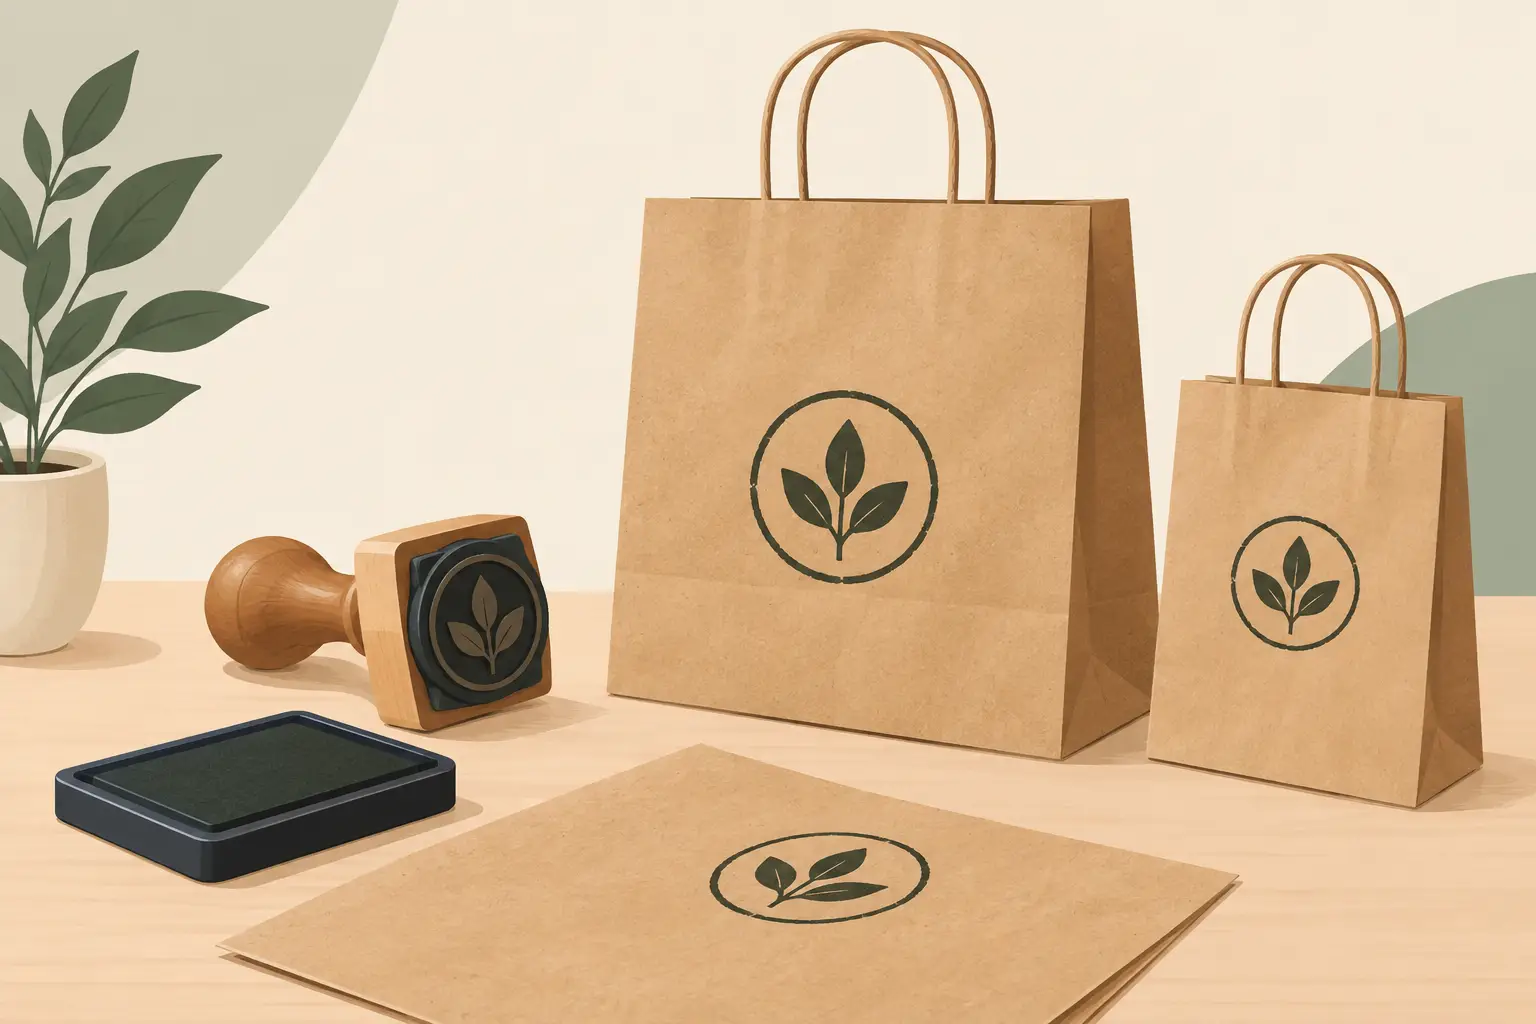
A plain kraft carrier can look considered and recognisable without the cost, storage and minimum order quantities of printed packaging. For many independent retailers, makers, cafés and event organisers, the simplest way to brand kraft paper bags is with a well-made custom stamp. It gives you flexibility when stock, promotions or product ranges change, while keeping packing practical for busy staff.
A stamp is not the right answer for every bag requirement. If you post thousands of identical bags each month, professionally printed packaging may be better value. But where quantities vary, designs change or you need a smaller initial outlay, stamping bags in-house is a dependable option.
Why stamp brand kraft paper bags?
Kraft paper has a natural, uncoated surface that works well with a clear inked impression. The result can suit businesses that want packaging to feel simple, practical and less over-produced. A logo, business name, web address, social handle or short message can turn an ordinary bag into part of the customer experience.
The main benefit is control. You can stamp the number of bags needed for the day rather than ordering a large run in advance. This is useful for seasonal products, market stalls, wedding favours, pop-up shops and smaller retail operations. It also makes it easier to use one bag size across several product lines, changing the stamp rather than buying separate printed stock.
A custom stamp can do more than add a logo. Some businesses use a second stamp for product details, a loyalty message, collection dates or a simple “Thank you”. Keeping these elements separate gives greater flexibility than putting every detail into one large design.
Choose the right stamp size and layout
Start with the area of the bag that will be visible once it is filled and carried. A large artwork may look impressive on a flat bag but can become distorted or hidden by handles, folds and contents. In most cases, a centred design on the front panel is easiest to apply and easiest for customers to see.
For a small paper bag, a compact square or rectangular stamp is usually enough for a logo and name. Medium bags can carry a wider design with contact details underneath. Larger bags give more room, but that does not mean every space needs filling. A simple mark with enough clear space around it is often more legible than a crowded panel of text.
Keep small details to a minimum
Fine lines, very small lettering and intricate artwork are harder to reproduce consistently on textured paper. They may also fill with ink after repeated use. Use a high-contrast design with clear shapes and a sensible minimum text size. If your logo includes a detailed illustration, consider a simplified stamp version rather than forcing every element into the artwork.
Black ink is the most reliable choice for natural brown kraft paper, producing a neat, straightforward finish. Dark green, navy, burgundy and other strong colours can also work well. Pale inks may lose impact on brown stock, particularly under indoor lighting. Always test your chosen colour on the actual bag material before preparing a large batch.
Match the stamp to the workload
A traditional wooden hand stamp is a good fit for larger designs and occasional use. It is also practical if you need a particular ink colour, as you can choose the right ink pad for the job. For repeated daily stamping of a smaller design, a self-inking stamp is quicker and keeps the process tidier, although the available size and ink options may be more limited.
If you need to stamp a wide logo, a large hand stamp is generally more practical than trying to build a design from several smaller impressions. Multiple stamps can create an attractive handmade effect, but they take longer and require careful positioning.
Set up a repeatable stamping process
The difference between a smart branded bag and a patchy one is usually process, not expensive equipment. Set aside a clean, flat packing surface and make sure bags are completely flat before stamping. If the paper is creased or unsupported, the pressure will not transfer evenly.
Apply ink evenly rather than pressing the stamp hard into the pad. A few light taps normally give better coverage than one heavy push. Place the stamp on the bag, press firmly with even pressure, then lift it straight up. Avoid rocking the stamp from side to side, as this can blur text and edges.
Leave each bag to dry fully before stacking or filling it. Drying time depends on the ink, paper and room conditions, so test this before the first busy packing day. Fast-drying ink may be helpful for high-volume work, but some inks can look lighter or behave differently on absorbent kraft paper. The best choice depends on your design, the bag finish and how quickly bags need to be handled.
For regular use, make a simple positioning guide from card or board. Mark where the top and sides of the bag should sit, then use this as a repeatable reference. A guide helps different members of staff produce consistent placement without measuring every bag.
Practical checks before placing an order
Before committing to a stamp, review the artwork as it will appear at its final size. A design that reads clearly on a computer screen may not work at 50 mm wide. Check spelling, phone numbers, web addresses and any date-sensitive wording carefully. Correcting artwork before manufacture is much easier than replacing a finished stamp.
Think about how often your details change. If you regularly update prices, event dates or social accounts, keep those elements off the main logo stamp. Use a separate, smaller stamp for information likely to change. This protects the useful life of the main stamp and reduces unnecessary replacement costs.
It is also worth considering the bags themselves. Smooth kraft paper generally produces a sharper impression than heavily textured, recycled or ribbed stock. Twisted-handle carriers, flat gift bags and paper food bags can all be stamped, but their folds, handles and coatings vary. Requesting or buying a small bag sample first can prevent wasted stock.
When a stamped bag is the sensible choice
Stamped packaging works particularly well when you want branded presentation without losing flexibility. A florist can add a seasonal message to standard bags. A gift business can stamp a logo, then add a separate occasion mark for birthdays, weddings or Christmas. A farm shop or market trader can prepare batches as needed rather than storing printed bags for every product line.
It is also useful for internal packing and collection orders. A clear stamp can mark “Paid”, “Collect Today”, “Fragile” or a staff initials box on a kraft bag, helping orders move through a small operation with less confusion. In these situations, the stamp is doing two jobs: presenting the brand neatly and making day-to-day handling clearer.
For customers who need a custom design made for regular practical use, Handy Stamps can supply personalised rubber stamps suited to business packaging, office tasks and events. The most effective choice is usually the one that is easy to use repeatedly, not simply the largest design available.
Look after the stamp for consistent results
A stamp used for packaging should be cleaned when ink begins to build up in the detail. Use an appropriate stamp cleaner or a lightly damp cloth where suitable, taking care not to soak wooden mounts. Let it dry before re-inking. Keep ink pads closed when not in use, as a dry pad leads to weak, uneven impressions.
Store the stamp flat in a clean, dry place and avoid leaving it pressed into an ink pad. With sensible care, a good-quality stamp can handle repeated use and remain a practical part of your packing station.
A branded kraft bag does not need to be elaborate to do its job. A clear logo, a suitable ink colour and a repeatable stamping method can make everyday packaging feel organised, recognisable and ready to hand over with confidence.