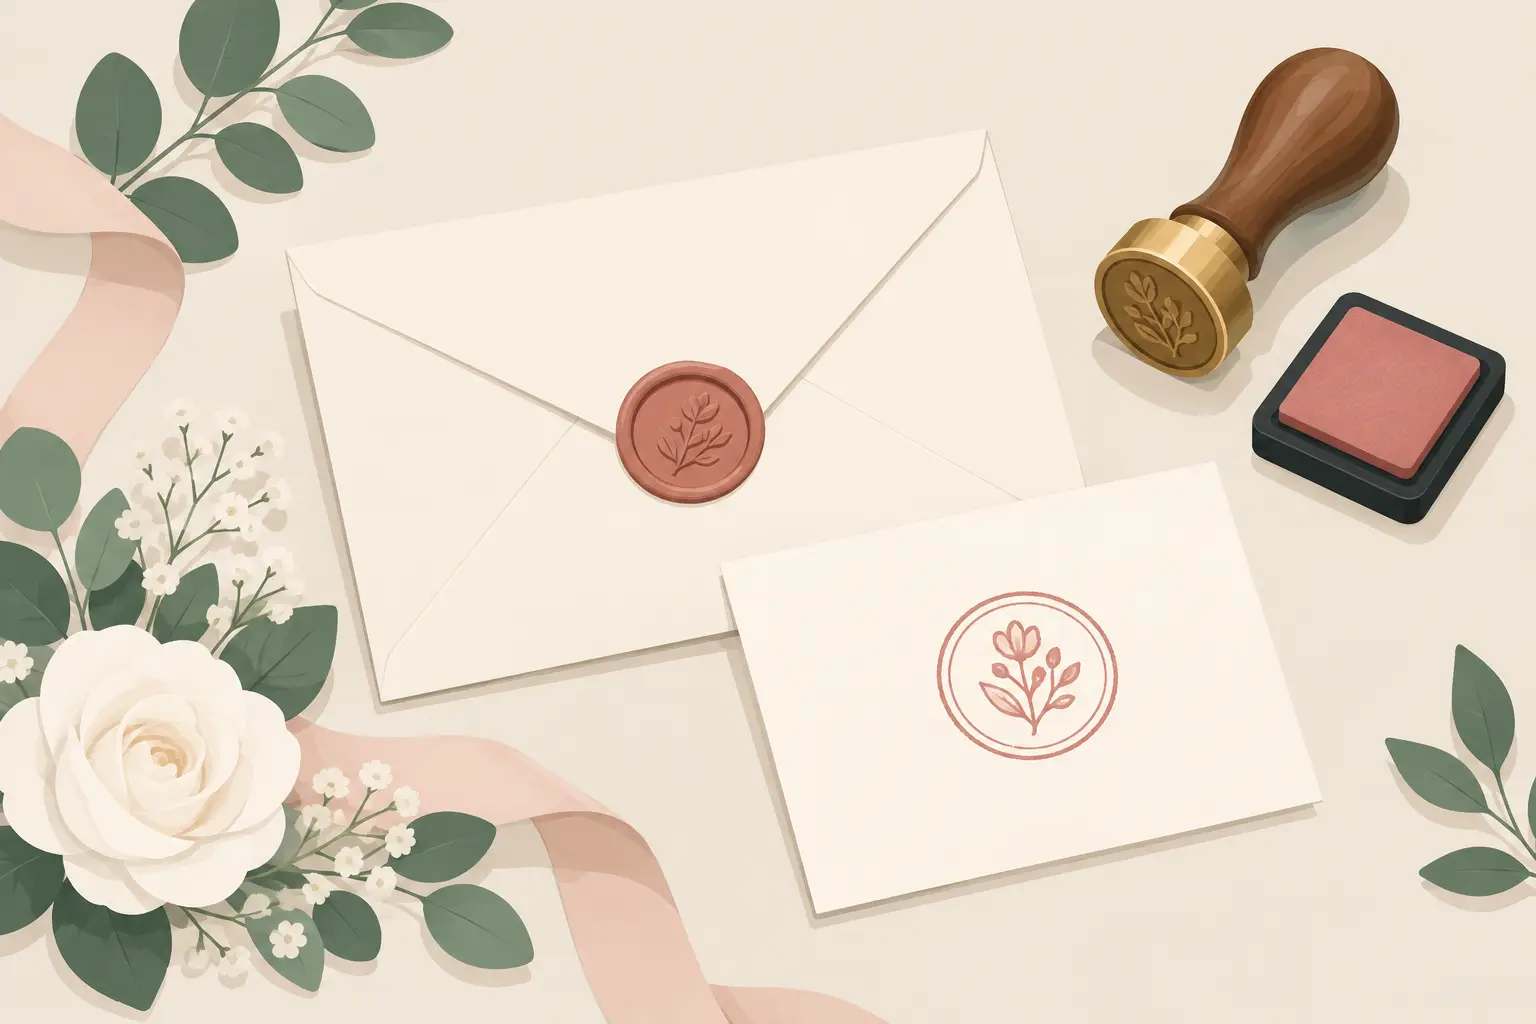
A wedding stamp can turn a plain invitation envelope into something that feels considered before it is even opened. This guide to wedding invitation stamps focuses on the practical decisions that make the difference: choosing a design that suits your stationery, getting a clean impression and allowing enough time to stamp without turning a happy task into a last-minute job.
For most couples, a personalised stamp is used on envelope flaps, RSVP cards, save the dates, favour bags or thank-you notes. It is a repeat-use tool, so the best choice is not always the most elaborate design. It is the one that gives a clear result on every item in your wedding stationery pack.
What wedding invitation stamps are best for
Wedding invitation stamps are personalised rubber stamps, usually made with your names, initials, wedding date or a short message. Common wording includes “Save the Date”, “Please Reply”, “Made with Love” and “Thank You”. A monogram of your initials is particularly versatile, as it can be used before and after the wedding.
They work well when you want a consistent personal detail without paying for every envelope, tag or card to be professionally printed. They are also useful where plans may change. If you have not finalised a date, venue or wording when ordering some of your stationery, you can stamp the relevant details later rather than committing to a large printed run.
A stamp is not a replacement for clear invitation information. Names, dates, times and addresses still need to be easy to read. Think of the stamped element as a finishing touch that gives your stationery a recognisable style.
Choose a design that stays clear in print
The most successful wedding stamp designs are simple enough to reproduce cleanly. Fine lines, very small type and packed-in artwork can look attractive on screen but lose detail when stamped, especially on textured card.
Start with the job the stamp needs to do
A return-address stamp needs readable lettering and enough space between lines. A monogram can be more decorative because it contains less information. A small “thank you” stamp for favour tags can be compact, while a stamp for the back of an A6 envelope needs a larger design to avoid looking lost.
Before choosing a layout, measure the area you intend to stamp. Envelope flaps vary more than people expect, and a design that fits neatly on a large square envelope may be too wide for a narrow RSVP envelope. Leave a small border around the intended impression rather than filling every available millimetre.
Match the style to the stationery
For formal invitations, traditional serif lettering, restrained florals or a simple initial design often works best. Rustic stationery can suit botanical artwork, handwritten-style type or a slightly imperfect hand-stamped appearance. Modern invitations tend to benefit from clean lines and uncluttered layouts.
Keep the stamp in step with other elements such as your venue illustration, wax seal, ribbon or envelope colour. This does not mean every item must match exactly. A black ink monogram can sit well with almost any colour scheme and is often easier to read than pale coloured ink.
Select the right stamp format and size
For most wedding stationery, a traditional wooden-handled stamp is a practical choice. It gives you control over positioning and works with separate ink pads, allowing you to change ink colour between projects. It is a good option for couples who want to use the stamp later for thank-you cards, anniversary post or gift tags.
A self-inking stamp is quicker for repeated marking and keeps the ink contained within the stamp body. It is particularly useful for simple text such as a return address or RSVP wording. However, the ink colour is normally fixed in the unit, so it is less flexible if you want to use different colours across several stationery items.
Stamp size should be led by the available space, not by the amount of text you can fit into a design. As a general rule, a small stamp is effective for favour tags and place cards, a medium stamp suits envelope flaps and a larger format is better for kraft bags, welcome signs or packaging. If a design includes names, a date and decorative artwork, give it room to breathe.
Ink and card stock: test before the full run
Ink choice affects both the look and the reliability of your invitations. Black, dark navy and deep green usually give a crisp, legible impression on light card. Gold and silver can look smart, but metallic inks may take longer to dry and can appear less defined on absorbent paper.
Smooth, uncoated card is generally the easiest surface to stamp. Very glossy card can cause ink to sit on the surface and smudge, while heavily textured or recycled card can break up fine details. Kraft card gives a warm, informal finish, but darker inks are usually needed for sufficient contrast.
Do not begin with your finished invitations. Order a few extra envelopes or use offcuts of the same card stock, then make several test impressions. This shows whether the design is the right size, whether the ink needs more drying time and how firmly you need to press.
For best results, place the card on a flat, firm surface. Ink the stamp evenly, position it carefully, then press straight down with steady pressure. Avoid rocking the stamp from side to side, as this can blur the edges. Lift it straight up and leave the card undisturbed while the ink dries.
Plan your wedding invitation stamping process
Hand stamping takes longer than it appears, particularly if you are doing envelopes, RSVP cards, belly bands and favour tags. The work itself is straightforward, but alignment, drying time and checking each impression add up.
Set aside a clean table, good lighting and enough room for separate areas: unstamped items, freshly stamped items and fully dry pieces. Work in small batches rather than trying to stamp everything in one sitting. This makes it easier to maintain a consistent result and reduces the chance of placing a finished envelope on wet ink.
If you have a large guest list, it is sensible to order extra envelopes and cards. Even with careful testing, an occasional uneven impression is normal with hand stamping. Spare stationery means you can set aside imperfect pieces without affecting your count.
Timing matters too. Ideally, order your stamp once your names, spelling and final wedding date are confirmed, but before you need to assemble invitations. Allow time for delivery, a test run and the stamping itself. Handy Stamps offers same-day dispatch before 2pm, which can help when stationery plans move quickly, but leaving time for testing still gives the best outcome.
Where to use a wedding invitation stamp
A single stamp can be used in several places without making the stationery feel overdone. Use your main monogram on envelope flaps and keep smaller wording stamps for practical details such as RSVP envelopes or thank-you cards.
Good placements include the back flap of the main envelope, the top corner of an RSVP envelope, the reverse of a save-the-date card and favour tags. If you are stamping the front of an envelope, make sure the post office address, recipient address and required postage remain clear. A decorative stamp should never interfere with delivery information.
For destination weddings or invitations with several inserts, a stamp can also help organise the pack. A simple icon or wording such as “details inside” may be useful, but only if it makes the information clearer. Decoration is worthwhile when it supports the finished look, not when it creates more to read.
Care for the stamp between uses
Clean the stamp after each session, particularly if you have used pigment, metallic or fast-drying ink. A suitable stamp cleaner or a lightly damp cloth can remove excess ink from the rubber surface. Avoid soaking wooden stamp blocks or using harsh cleaning products that may affect the material.
Store the stamp flat or rubber-side up in a dry place. Keep ink pads closed when not in use so they do not dry out. With basic care, a personalised wedding stamp remains useful long after the invitations are posted – for thank-you notes, photo albums, Christmas cards and anniversary stationery.
Common questions about wedding invitation stamps
Should every invitation be hand stamped?
Not necessarily. Stamp the element that gives the best visual return for the time involved. For a large wedding, envelope flaps or favour tags may be enough. For a smaller guest list, you may enjoy adding a stamp to every insert.
Can I stamp over a printed design?
Yes, provided there is a clear space and the printed surface is suitable for the ink. Test first, as coated printed cards may smudge more easily than uncoated card.
How many impressions will one ink pad provide?
This depends on the pad size, ink type, stamp size and how heavily the stamp is inked. A standard pad usually covers a typical invitation project, but keeping a spare is sensible where you have a large quantity of stationery or want a precise colour match.
A wedding invitation stamp is a small detail, but it can make every piece of stationery feel connected. Choose a clear design, test it on your actual card and give yourself room for the occasional practice impression. The result is personal, consistent and ready to send with confidence.